Setting custom fields
Custom fields allow you to collect even more data to strengthen your analysis of incoming calls on your tracking numbers.
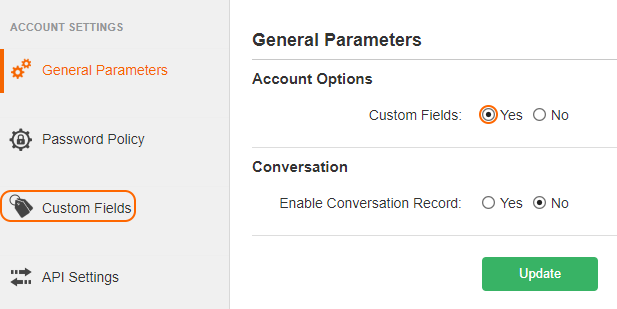
How to enable custom fields
First, enable Custom Fields option in Account settings. Then click on the Custom Fields tab in the left sidebar.
How to set up a custom field
By default, there are no preset custom fields. To add a new custom field, click on the Add new button on the upper right. In this form, you can set up a new custom field.
You can find below the description of the different parameters for a custom field:
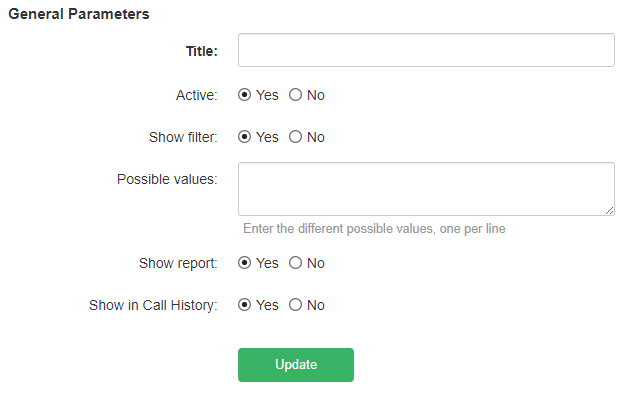
Title: Name of the custom field (e.g: Country).
Active: Select Yes / No to display the custom field.
Show Filter: Select Yes / No to display the custom field as a filter in the following reports: Trafic report, Hours of Day report, Days of Week report, and Call History.
Possible Values: List of the possible values (one per line) a custom field can take (e.g: name of the countries).
Show report: Select Yes / No to display the custom field report in the Conversions category in the Reports tab.
Show in Call History: Select Yes / No to display the custom field in the Call History when customizing report display.
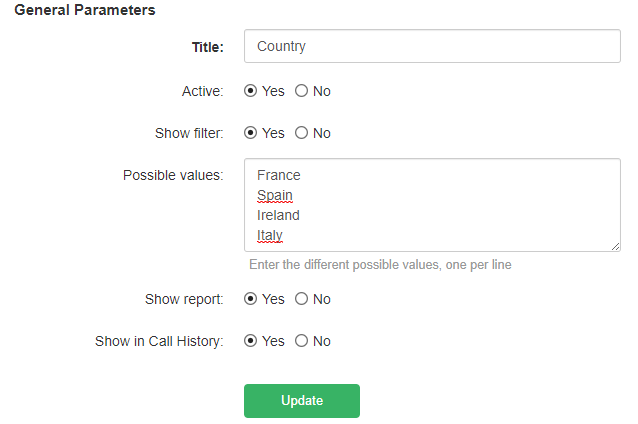
Example: Configuration of a « Country » custom field with a list of associated countries.
Click on the « Create » button to finish. And the list of the custom field appears.

How to set a custom field for a tracking number
To set a custom field for a tracking number, get to the Numbers tab and edit your tracking number.
![]()
Then, scroll down to the Custom Fields section at the bottom and select the values of the custom fields for this number.